Due to piracy and the constant scrubbing by bots to train AI, some of the content on this blog is now paywalled. For $3 per year, please consider keeping touch with me here.

Behind the dream..
There’s a quietness emerging in these new pieces, a calm that feels necessary given everything happening in the world right now. But tucked inside that stillness is a specific memory from my childhood that I’m finally starting to uncover through a very particular shade of green...
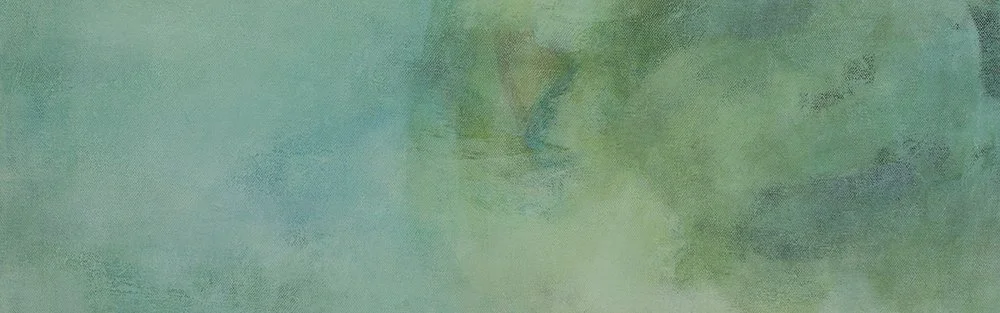
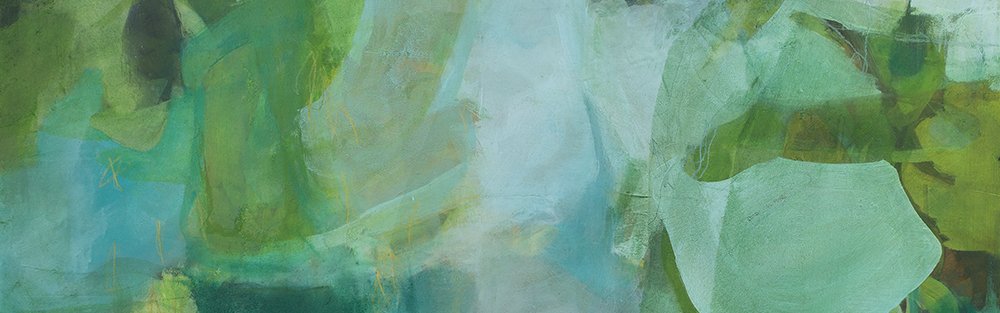
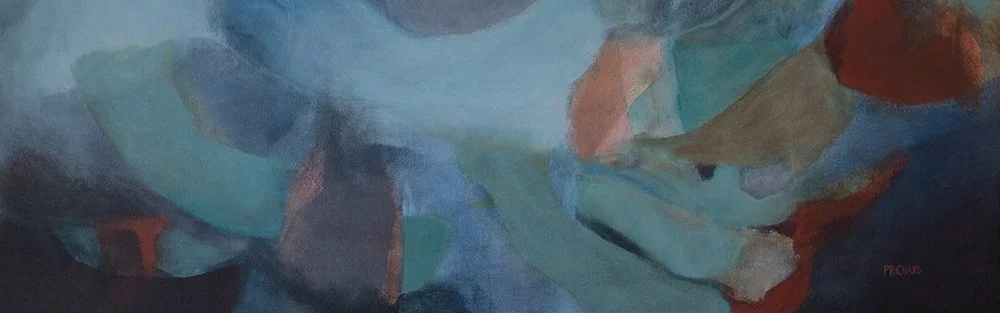
And now, “Emerald Bay”
We are living through a high-voltage era. Between the constant digital hum and the weight of global anxiety, the world feels increasingly crowded and loud. My first painting of 2026, Emerald Bay, was born out of a raw necessity to counter that noise—not just for you, the viewer, but for my own process.
First Painting, First Look
I spent years believing that my worth as an artist was tied to my productivity—that if I wasn’t churning out canvases, I wasn't the real deal. Now, I’m deprogramming that "production line" mindset and learning to move at a slower, more intentional pace. It’s messy, full of doubt, and completely necessary.

Hand to paper.
What happens when your creative nudge leads you away from the map you’ve used for years? I’m currently deep in the weeds of exploration—addicted to the immediacy of new marks but struggling to meld that energy with a professional collection. It turns out, paint doesn't want to be a formula, and integrating a lifetime of skill with new tools is a slower, deeper shift than I ever expected. Inside, I’m sharing the reality of being 'in the middle' of a creative evolution.
Now serving: Studio Notes
💌 Card Club Returns Feb 28, 2026
Julie’s beloved mail club is back for it’s second version! The cards are bigger, higher quality and you will love this sunshine in your mailbox every month.
Horoscope. Meet Sketchbook.
They say a 'bonanza' of opportunity is coming for Taurus, but I realized I wouldn't be ready for it if I kept doing the same old thing. I’ve spent the last few months dismantling my process to make room for something better.
About the Cats
I’m sharing a few thoughts on why creating without pressure feels so important right now, along with a couple of sketchbook pages from this new, stress-free practice. If you’re craving more ease, freedom, and creative flow, I’d love for you to come inside and read more.
Nine Lives of an Abstract Artist
After more than twenty years of working within the same painting process, I’m questioning something I once believed was untouchable: whether the full ritual is always necessary. Is process discipline—or is it therapy? And what happens when experience suggests a shortcut might not be failure, but growth?
Come What May
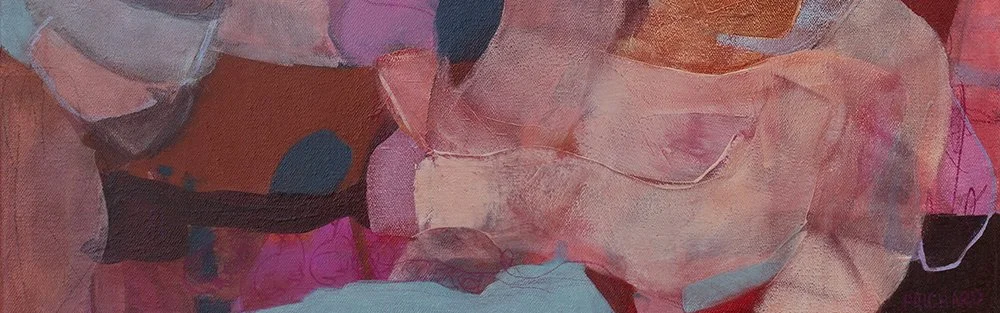
Painting is often romanticized as being a quiet, meditative act. You’ve seen the social media posts with paint flowing freely from the brush to the canvas, and the artist having a great time. I think a lot of my anxiety stems from the fact that as an artist, I do not fit that mold. I have a point of frustration in every painting I make. Most times, I can convince myself that the painting is fine, it is “just not finished yet”. Lately, the feelings have become increasingly difficult.
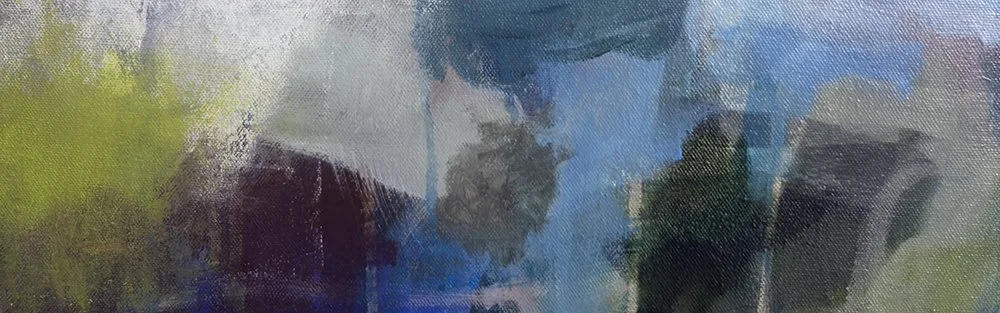
This piece asked a lot of me: Alluvial
A few painting sessions in the painting, I can feel the pressure of the space. I have a palette picked out so that mixing color is not an added stressor. The process at this stage is to get as much information onto the canvas as possible, allowing for an easier editing and composition building phase later in the process.
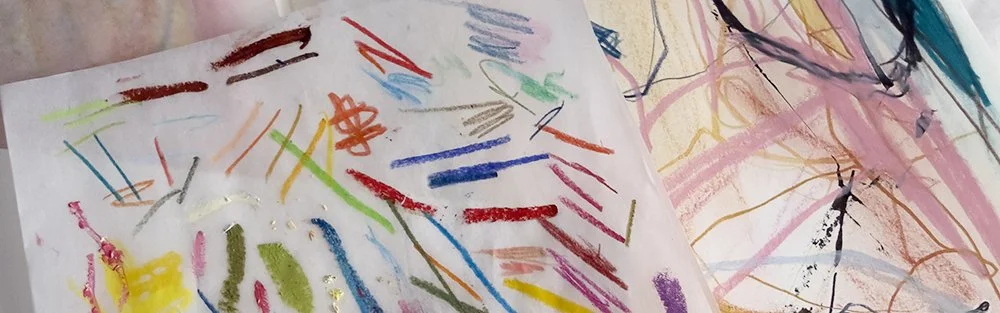
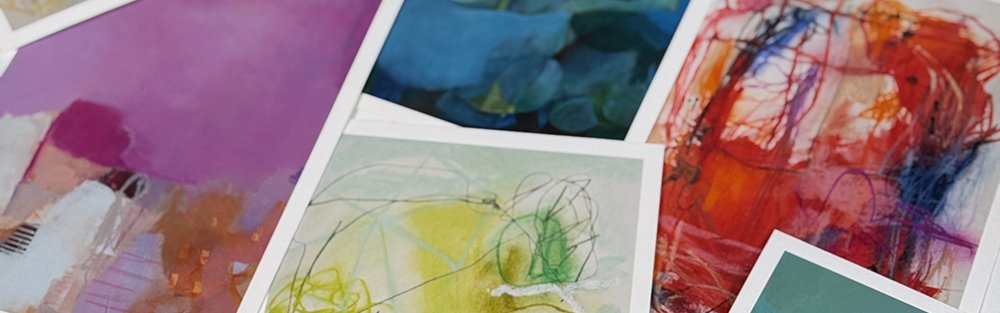
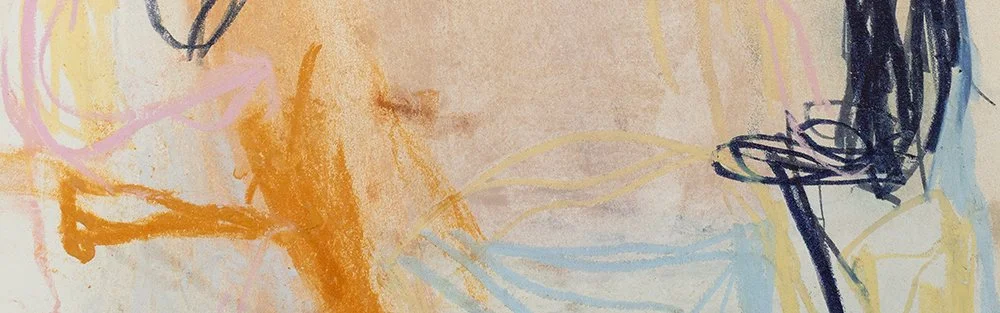
Abstract Sketchbook
I am taking a small break from painting this season to explore new colors, shapes, and mark-making in my sketchbook. For the past couple of weeks, I’ve been sitting for four or five hours a day, flipping back and forth through the pages of my book to add lines, smudges, and small drawings. My plan is to incorporate these drawings and color combinations into my art more in 2026.

Listening to the Echo
Reworking older pieces reminds me that creativity doesn’t always mean starting fresh. Even small changes can reignite my connection to painting and help me feel grounded again. In uncertain times, returning to a familiar canvas is a quiet way to move forward and rediscover my flow.

Reservoir

Comfortable and Casual..

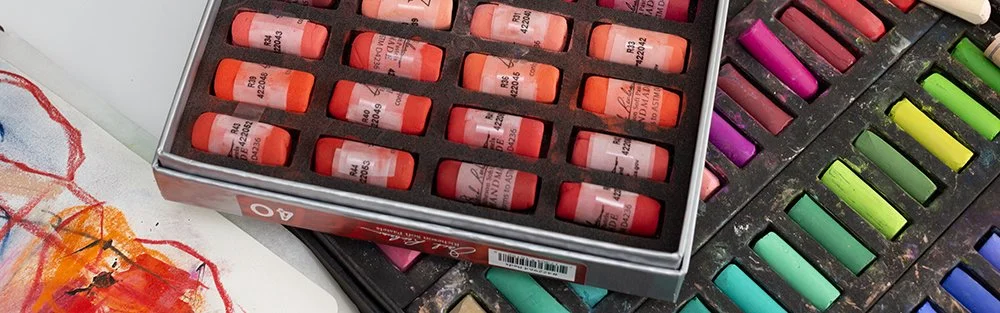
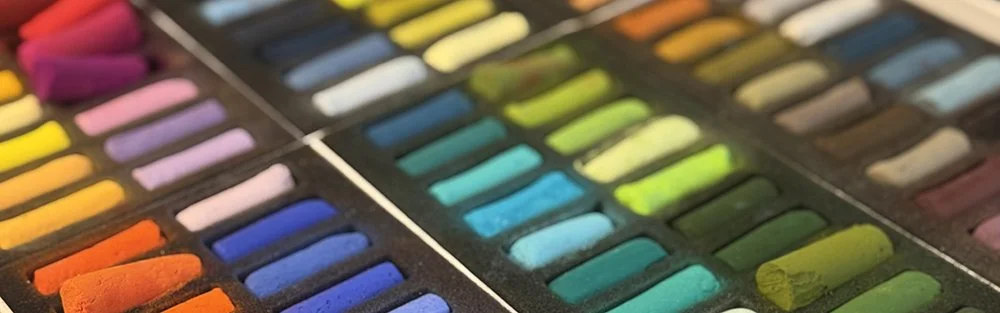
5 Art Supply Must Haves: Beginners

Mingle

Tips for painting small & new works.
To me, painting small like this is much more difficult than painting a giant canvas. I think there are a unique set of skills needed for both. While painting, I was discouraged in how long it took me to pull a composition out of each piece and I changed the surface texture dramatically when I was half way through each piece.

Story Time… new small paintings.
